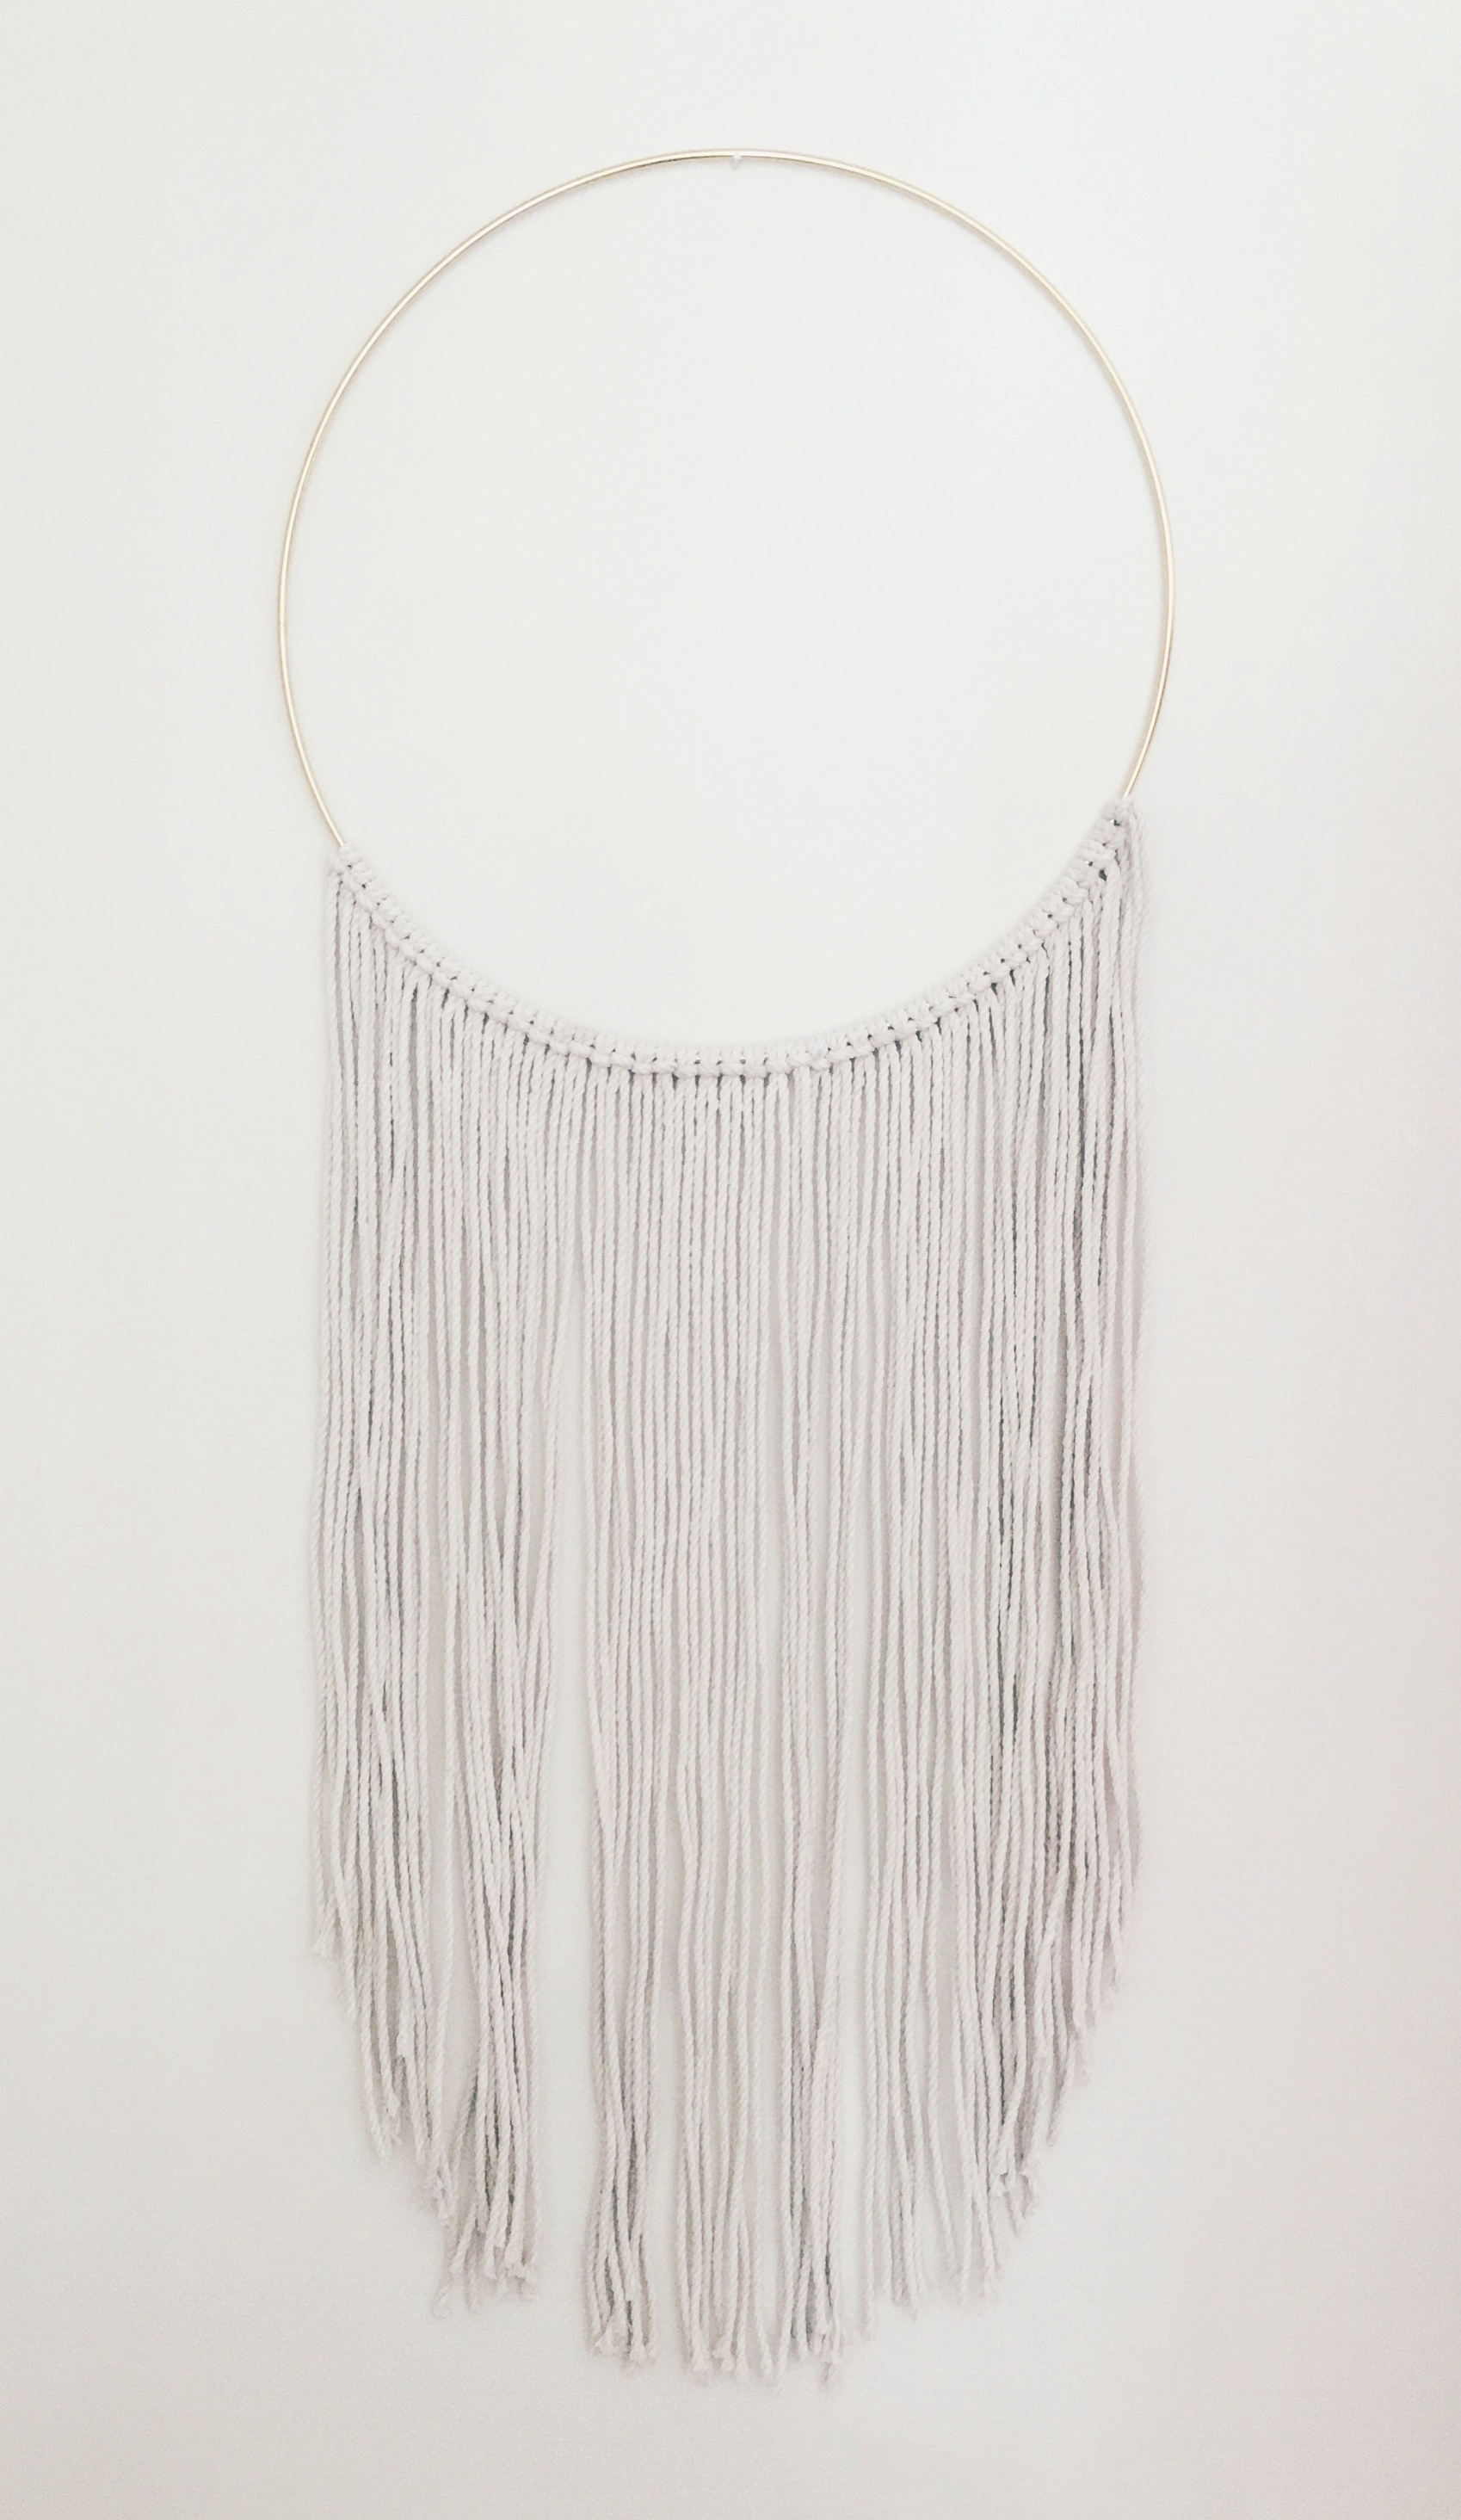
Quickie "faux-chet" macramé
This wall hanging is so quick and easy that I'm actually undecided about whether or not it falls under the "crafting" category. In addition to being a fast project, it's also super-cheap, very much on-trend, and only requires two materials! Wins, all around.
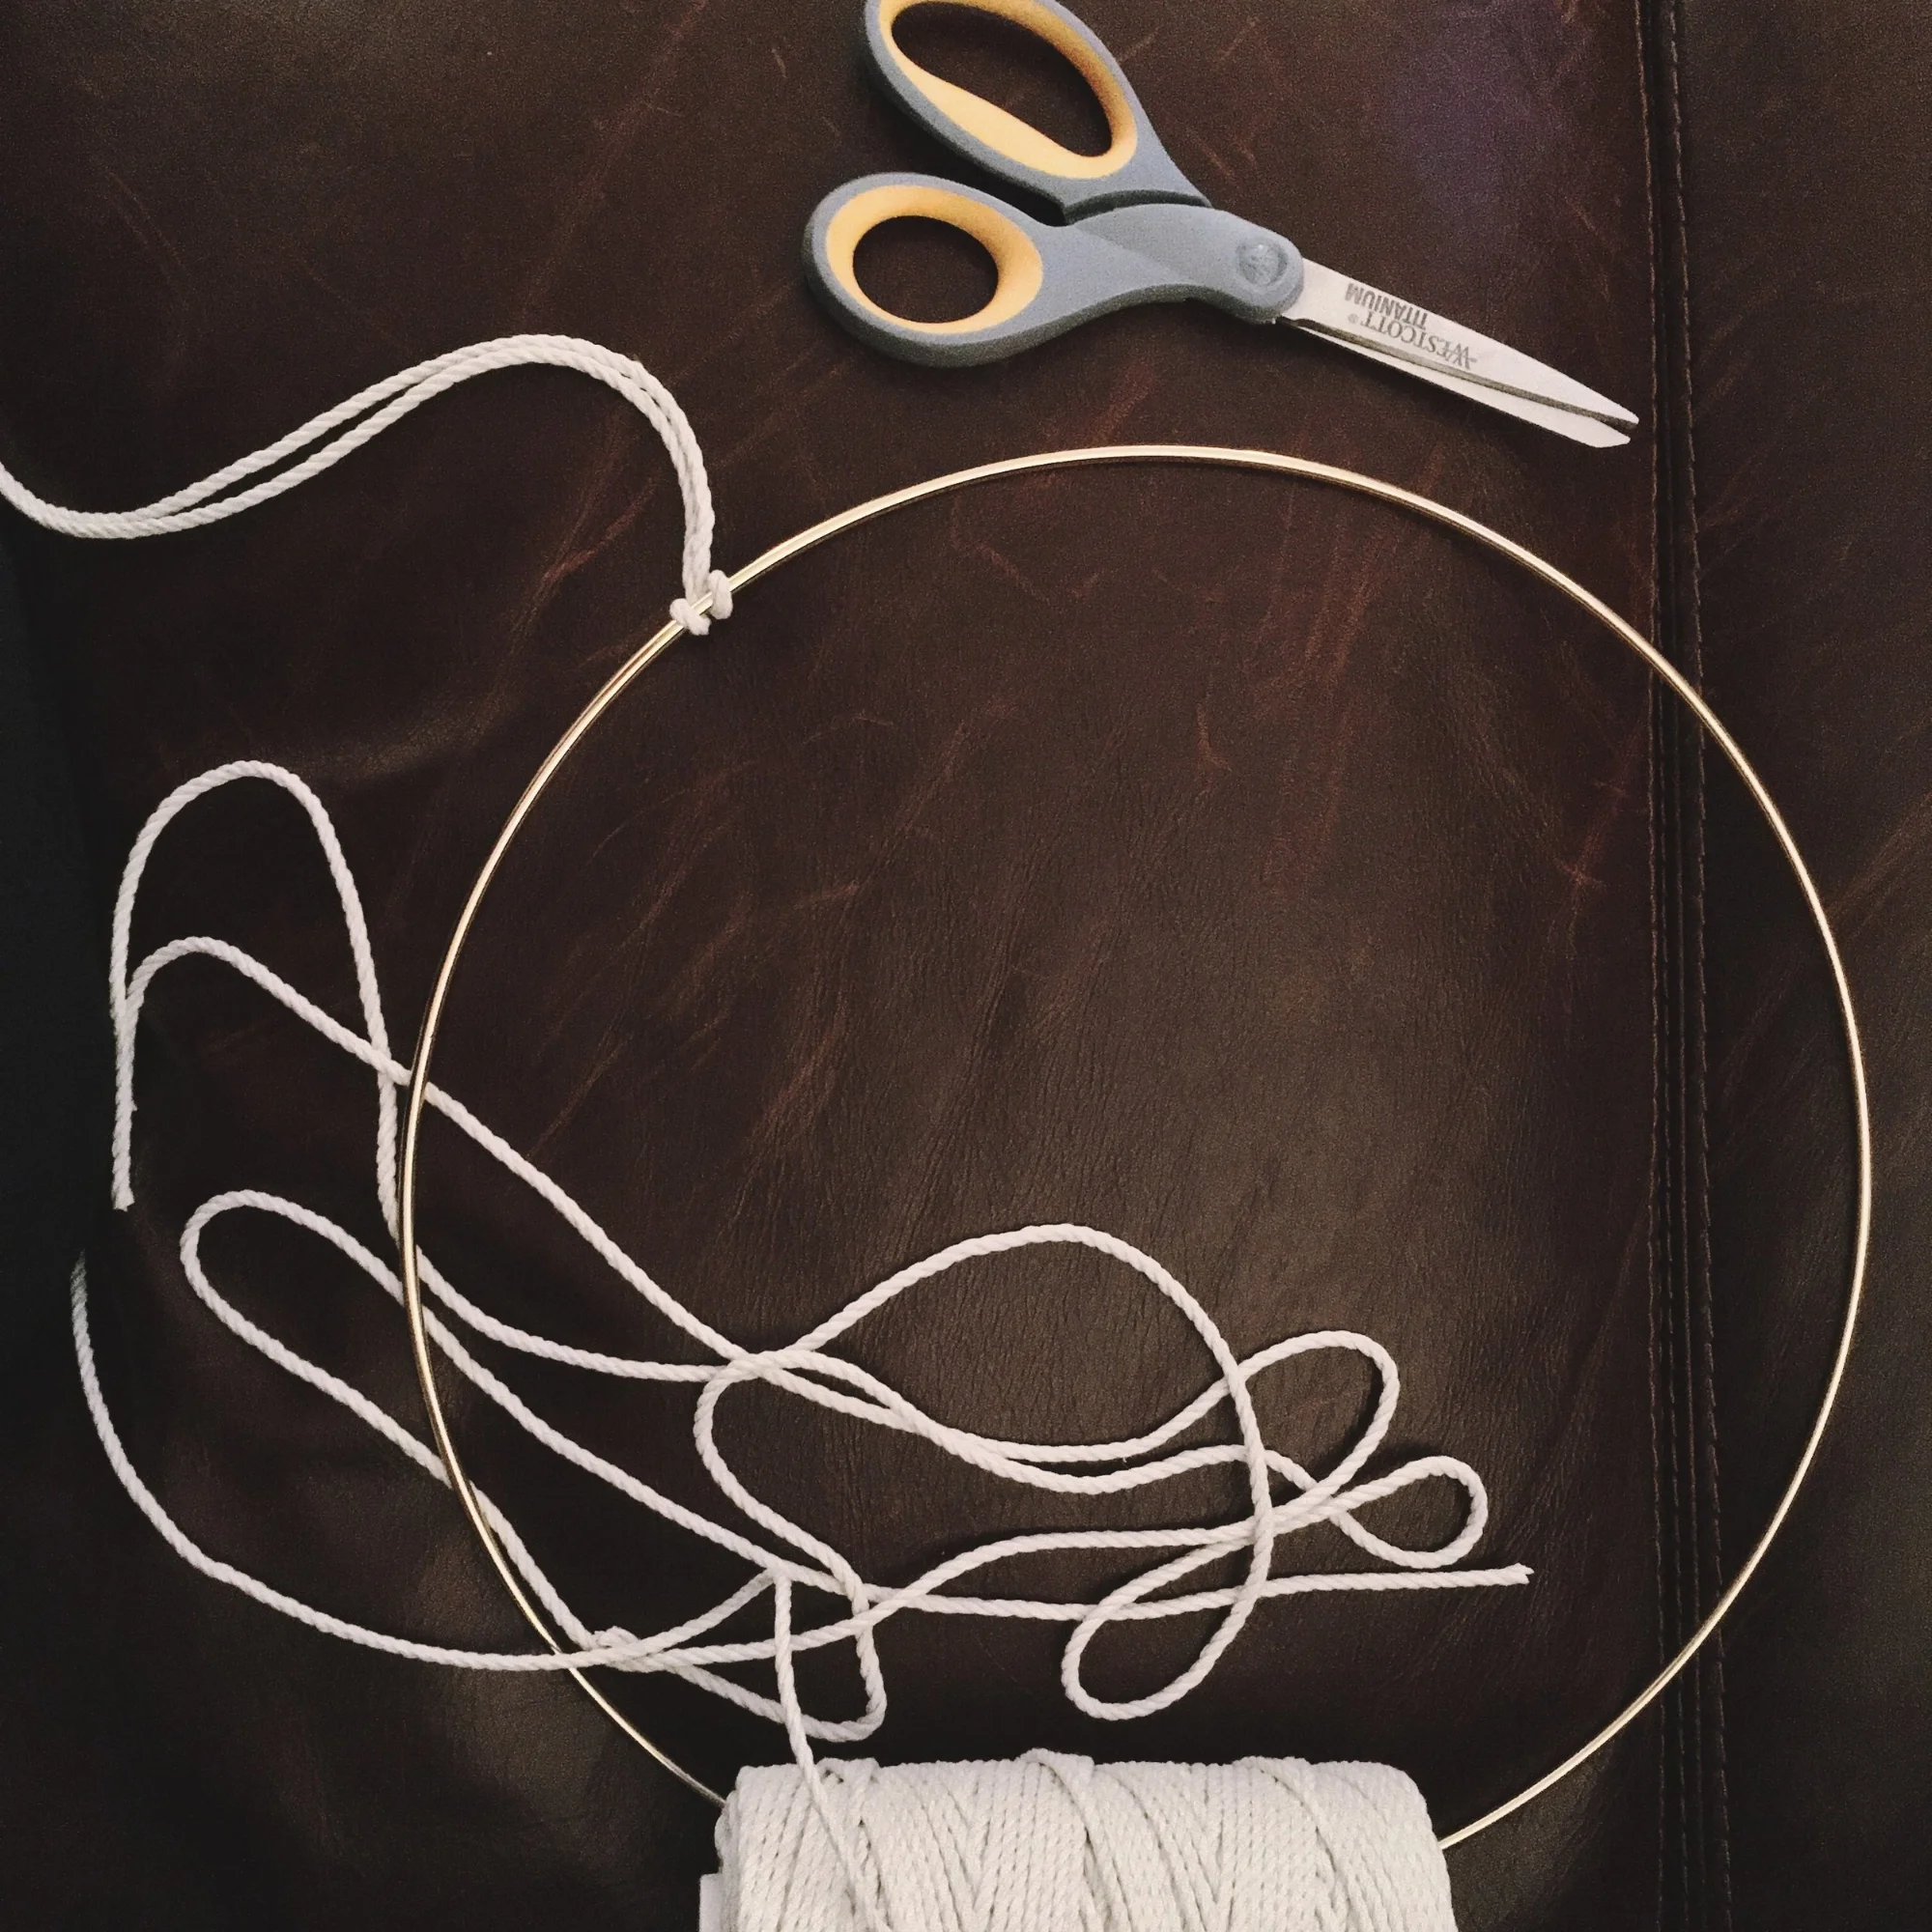
For this "macramé light" wall hanging, I used a crochet hoop (brass/gold-tone), which you can pick up at any crafting store. However, in order to stay true to the spirit of this blog, I found mine on Amazon – they have every size, from 4" through 19", for around $5-$12 each. I used a 14" ring, which I purchased for approximately $9.
For the hanging pieces, I used a rope-like material commonly called cotton/macramé rope, cording, or twine. I bought the 3mm width, which was $14 for approximately 100 yards. (I could make 1-2 more of these, if I used the same size hoop, or 3-4 more, if I used a smaller ring). Mine took about 40 pieces of string, cut to 30-32" long.
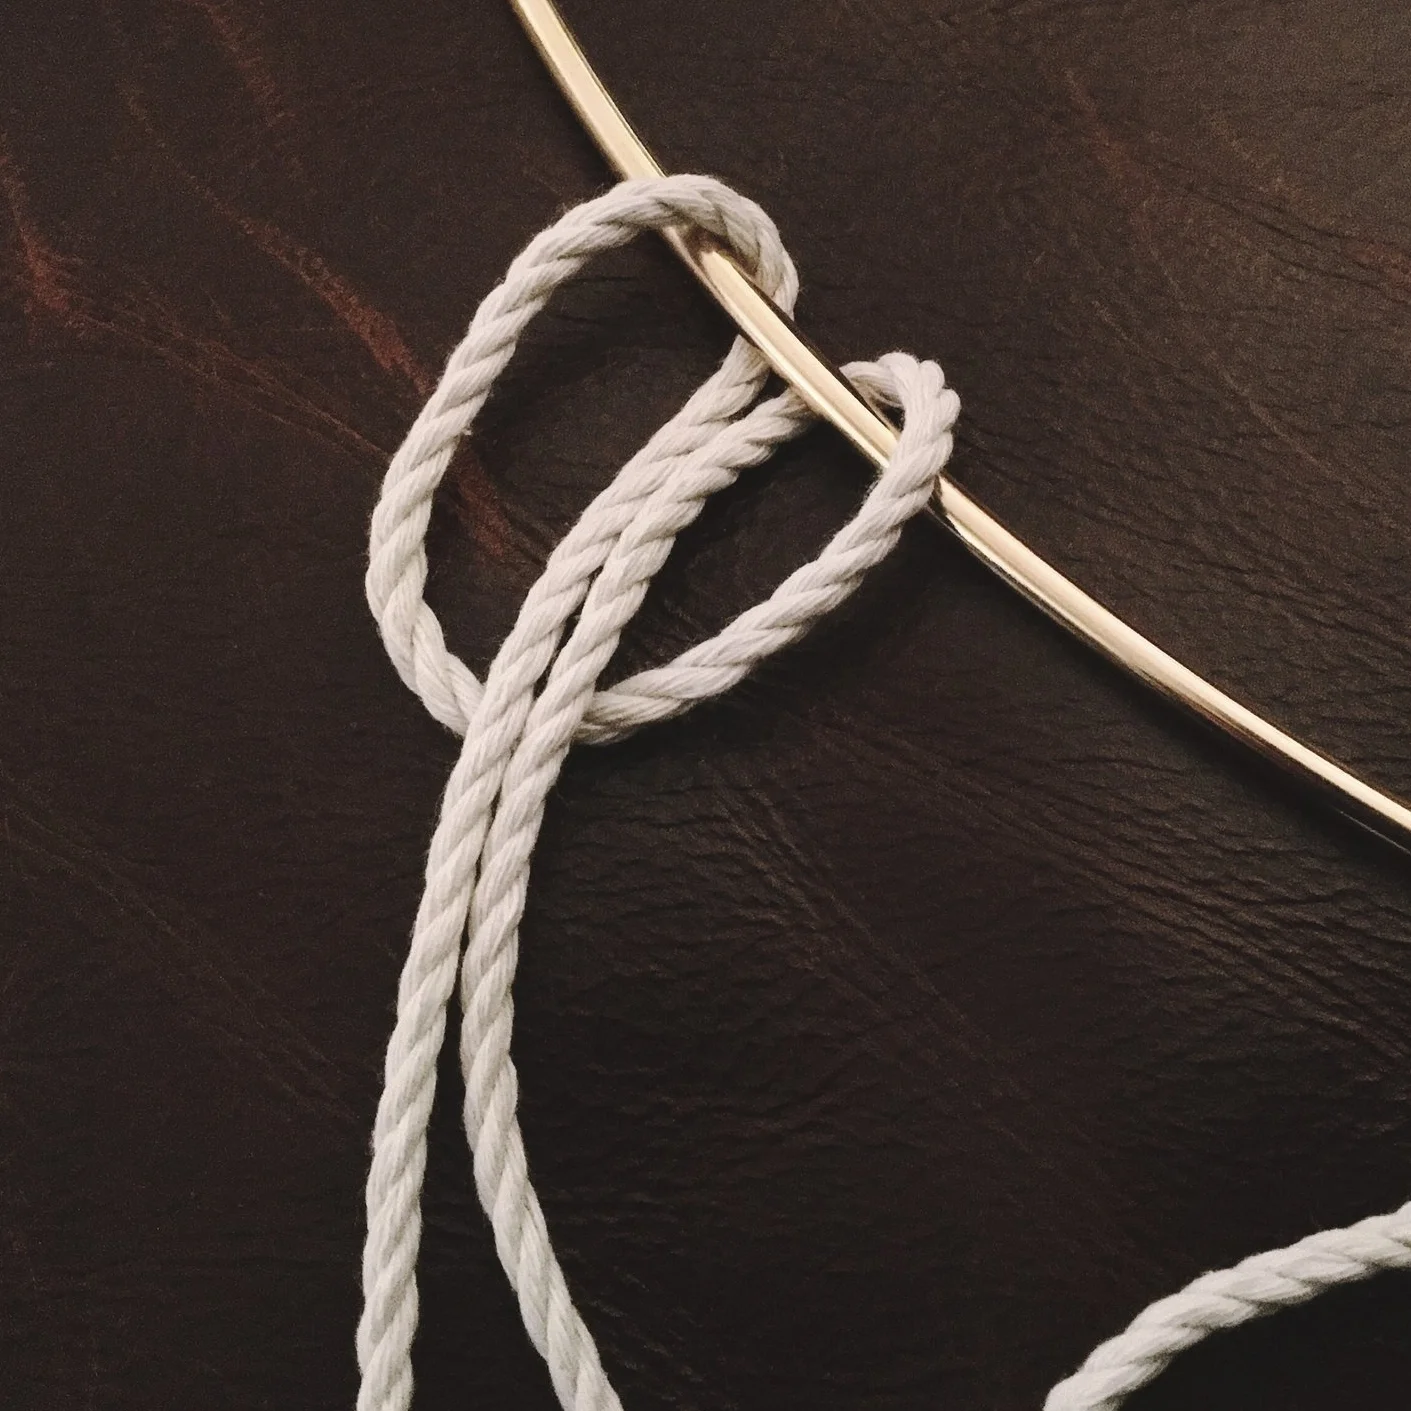
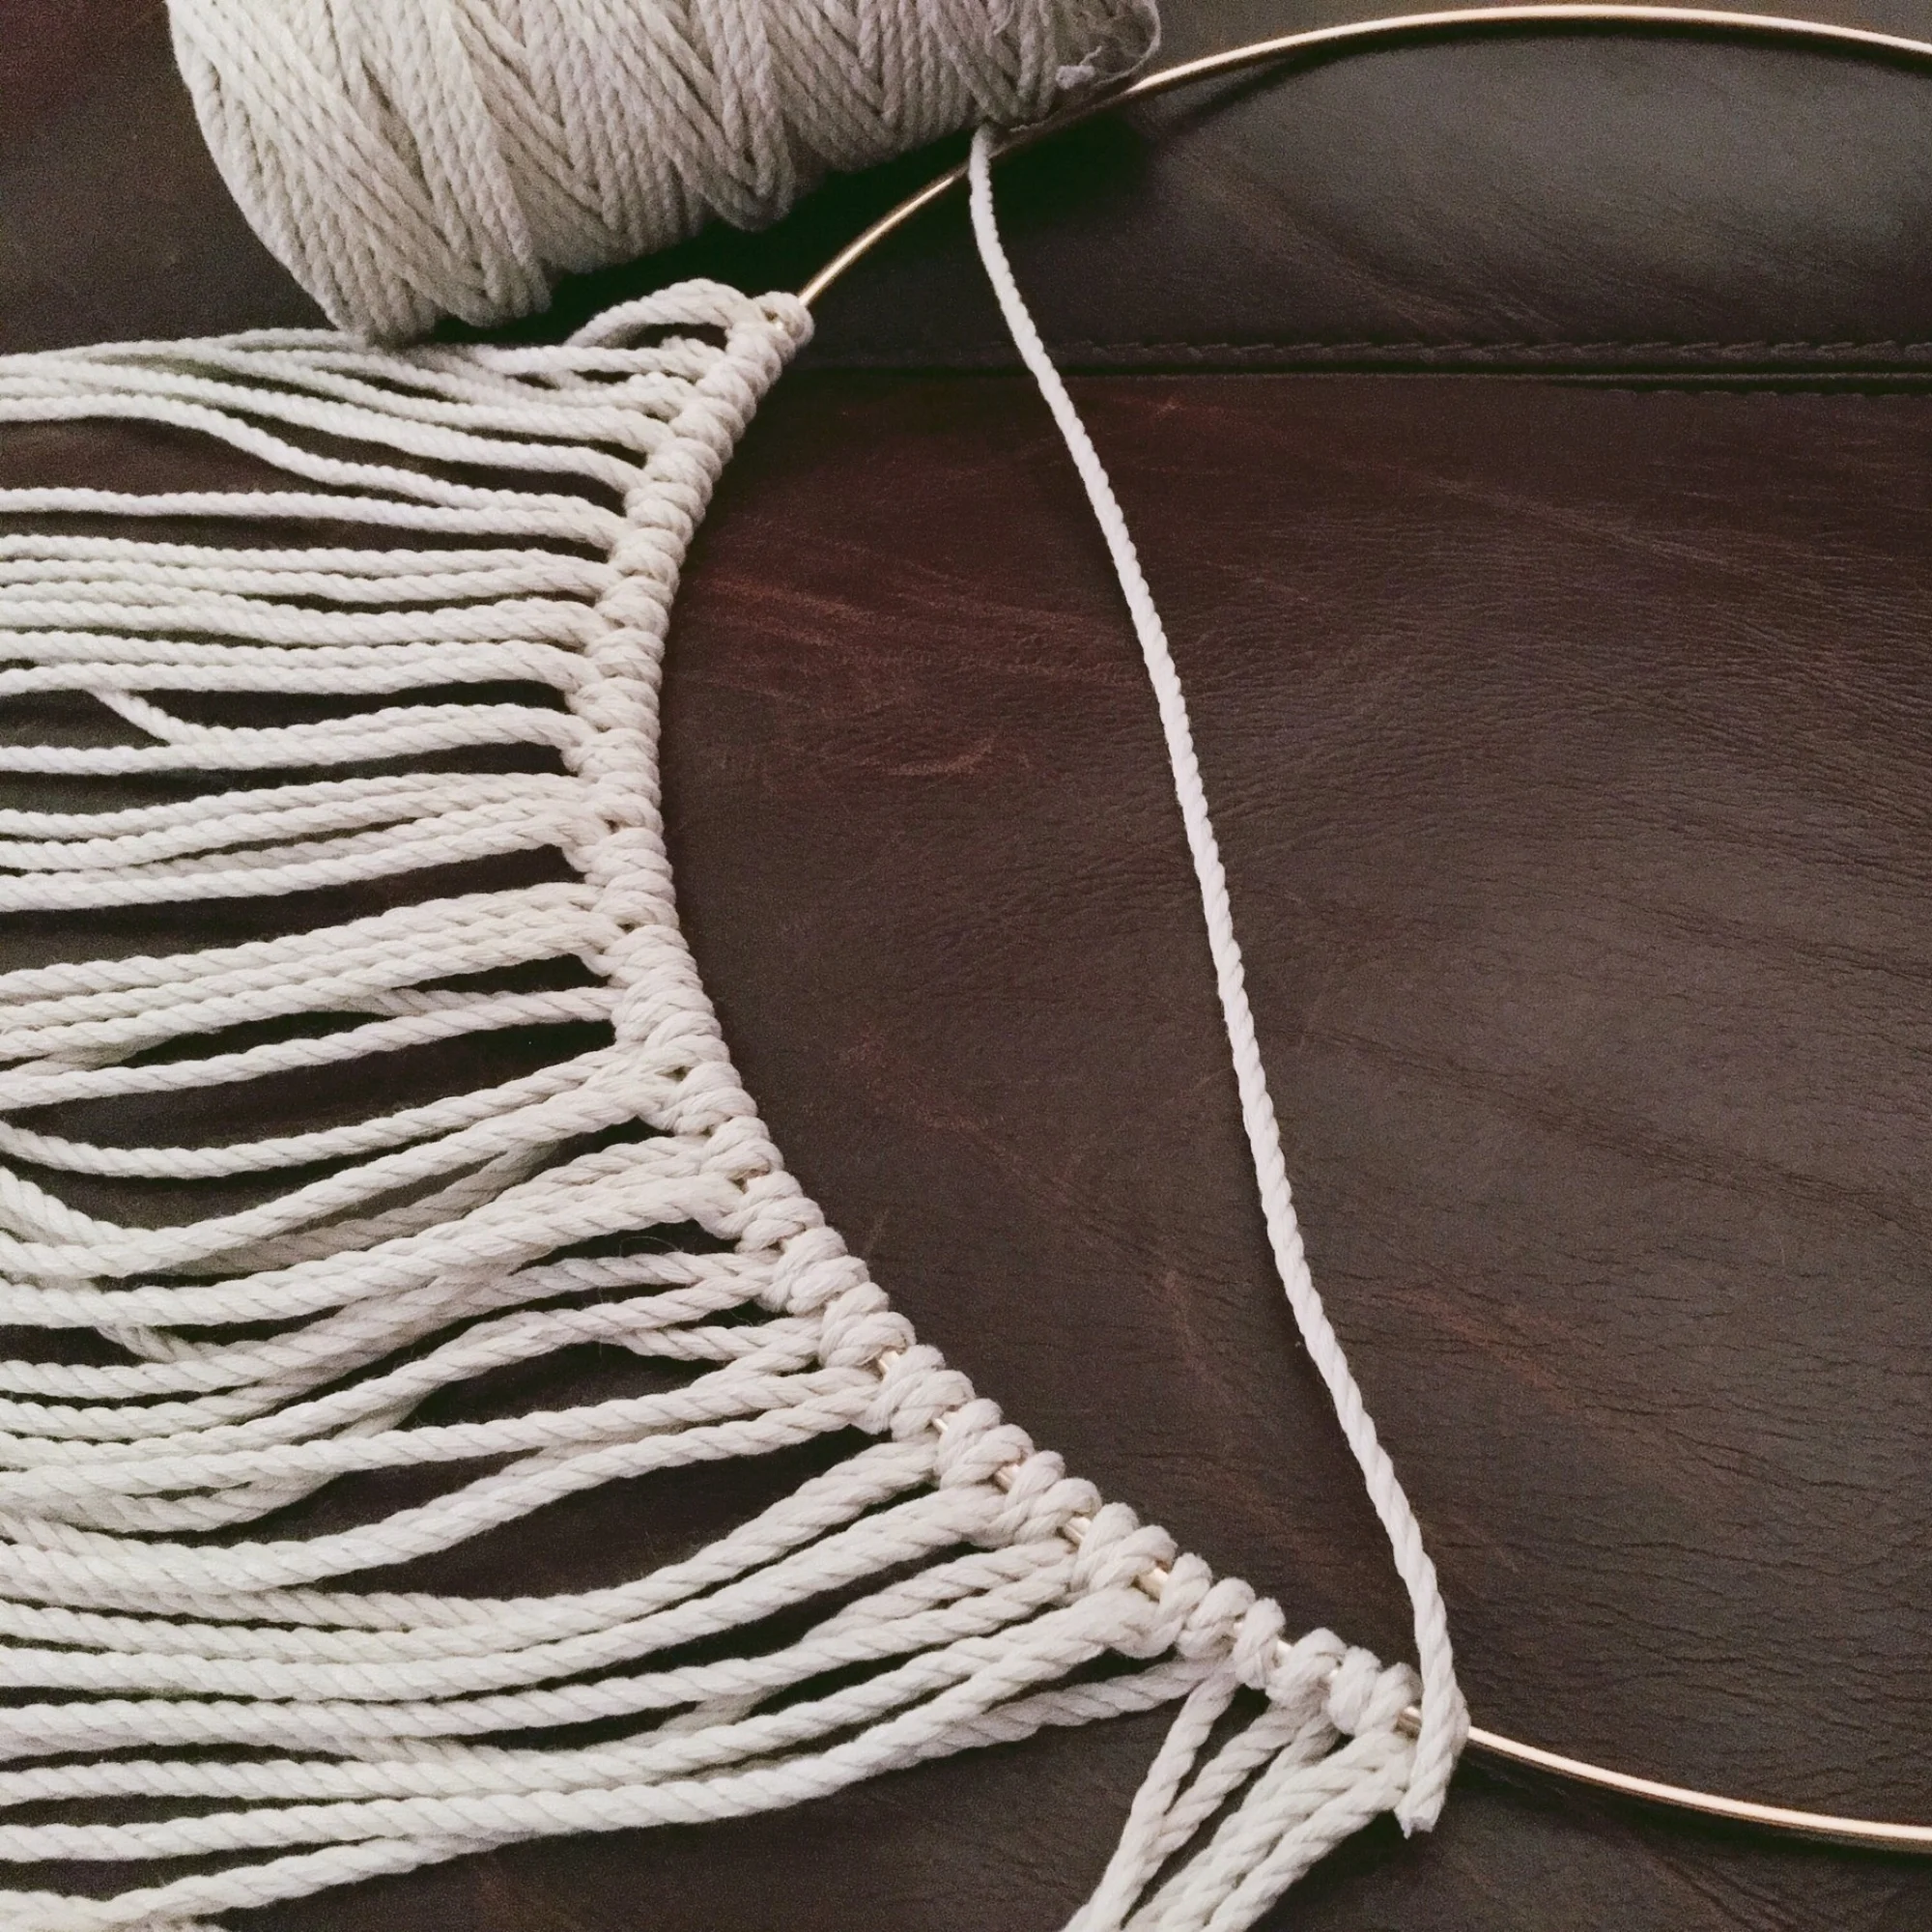
I had no idea when I started, but apparently the knot I used is an actual macrame/crochet knot! It's called a "Lark's Head", or a "Cow Hitch". Start by taking the ends of one rope cutting, securing it to your ring (see fancy technique below), then repeating as many times as you'd like. I chose to stop when approximately one-third of the hoop was covered, which allows the cording to drape nicely.
I'm so much happier with this piece than I thought I'd be... it's in a corner of the guest room that felt a little lacking, but is subtle enough not to overwhelm the space. Also, the delicate brass ring ties in perfectly with Gerald, because if one's decor doesn't coordinate with a gold giraffe lamp, what are you even doing with your life, anyway.
MATERIALS
Cotton Cording, 3mm: $14
- Crochet Hoop, 14-inch: $9
- Time investment: 1 hour + naps (optional)
make your knot
Who knew this was a real knot?! If you need a tutorial, YouTube a "Lark's Head Knot" or a "Cow Hitch Knot". Otherwise, just line up both ends of your rope and pull them through loop, around your crochet hoop.
Cut your twine
If you know where this will hang, measure from the bottom of your hoop to where you'd like your string to end. Double that number, add 1-2 inches, then cut 30-45 pieces. Having them all the same size will all them to form a perfect arc.
fill your hoop
You can make this as sparse or as full as you prefer; I chose to cover somewhere between 1/4-1/3 of my hoop. If you cover more than that, the cords start overlapping... I actually removed a few strings, once that happened.
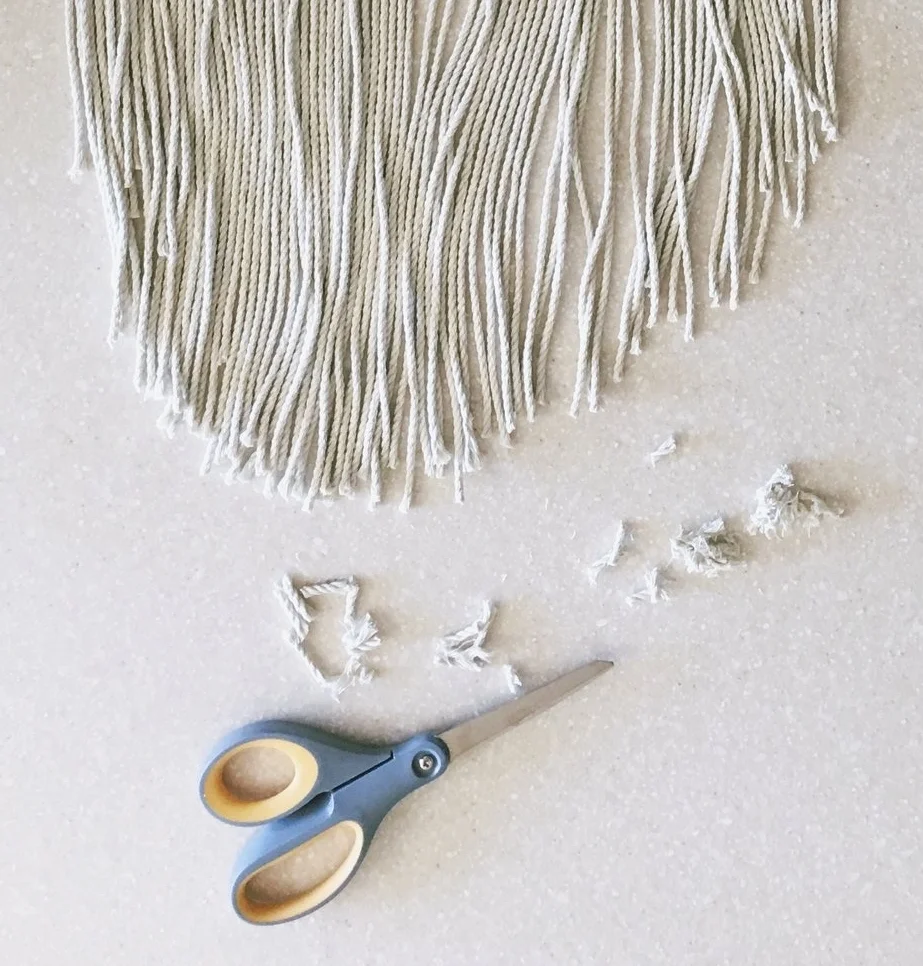
trim it up
This step isn't necessary, but I'm a rebel and was playing pretty fast and loose while cutting twine. I chose to give my piece a little haircut, but kept the slightly imperfect ends and just trimmed off some of the serious stragglers. Voila!


